캐모마일 환경설정 가이드(IOS)
신규 프로젝트에 프레임워크 적용
환경 셋팅
framework 준비
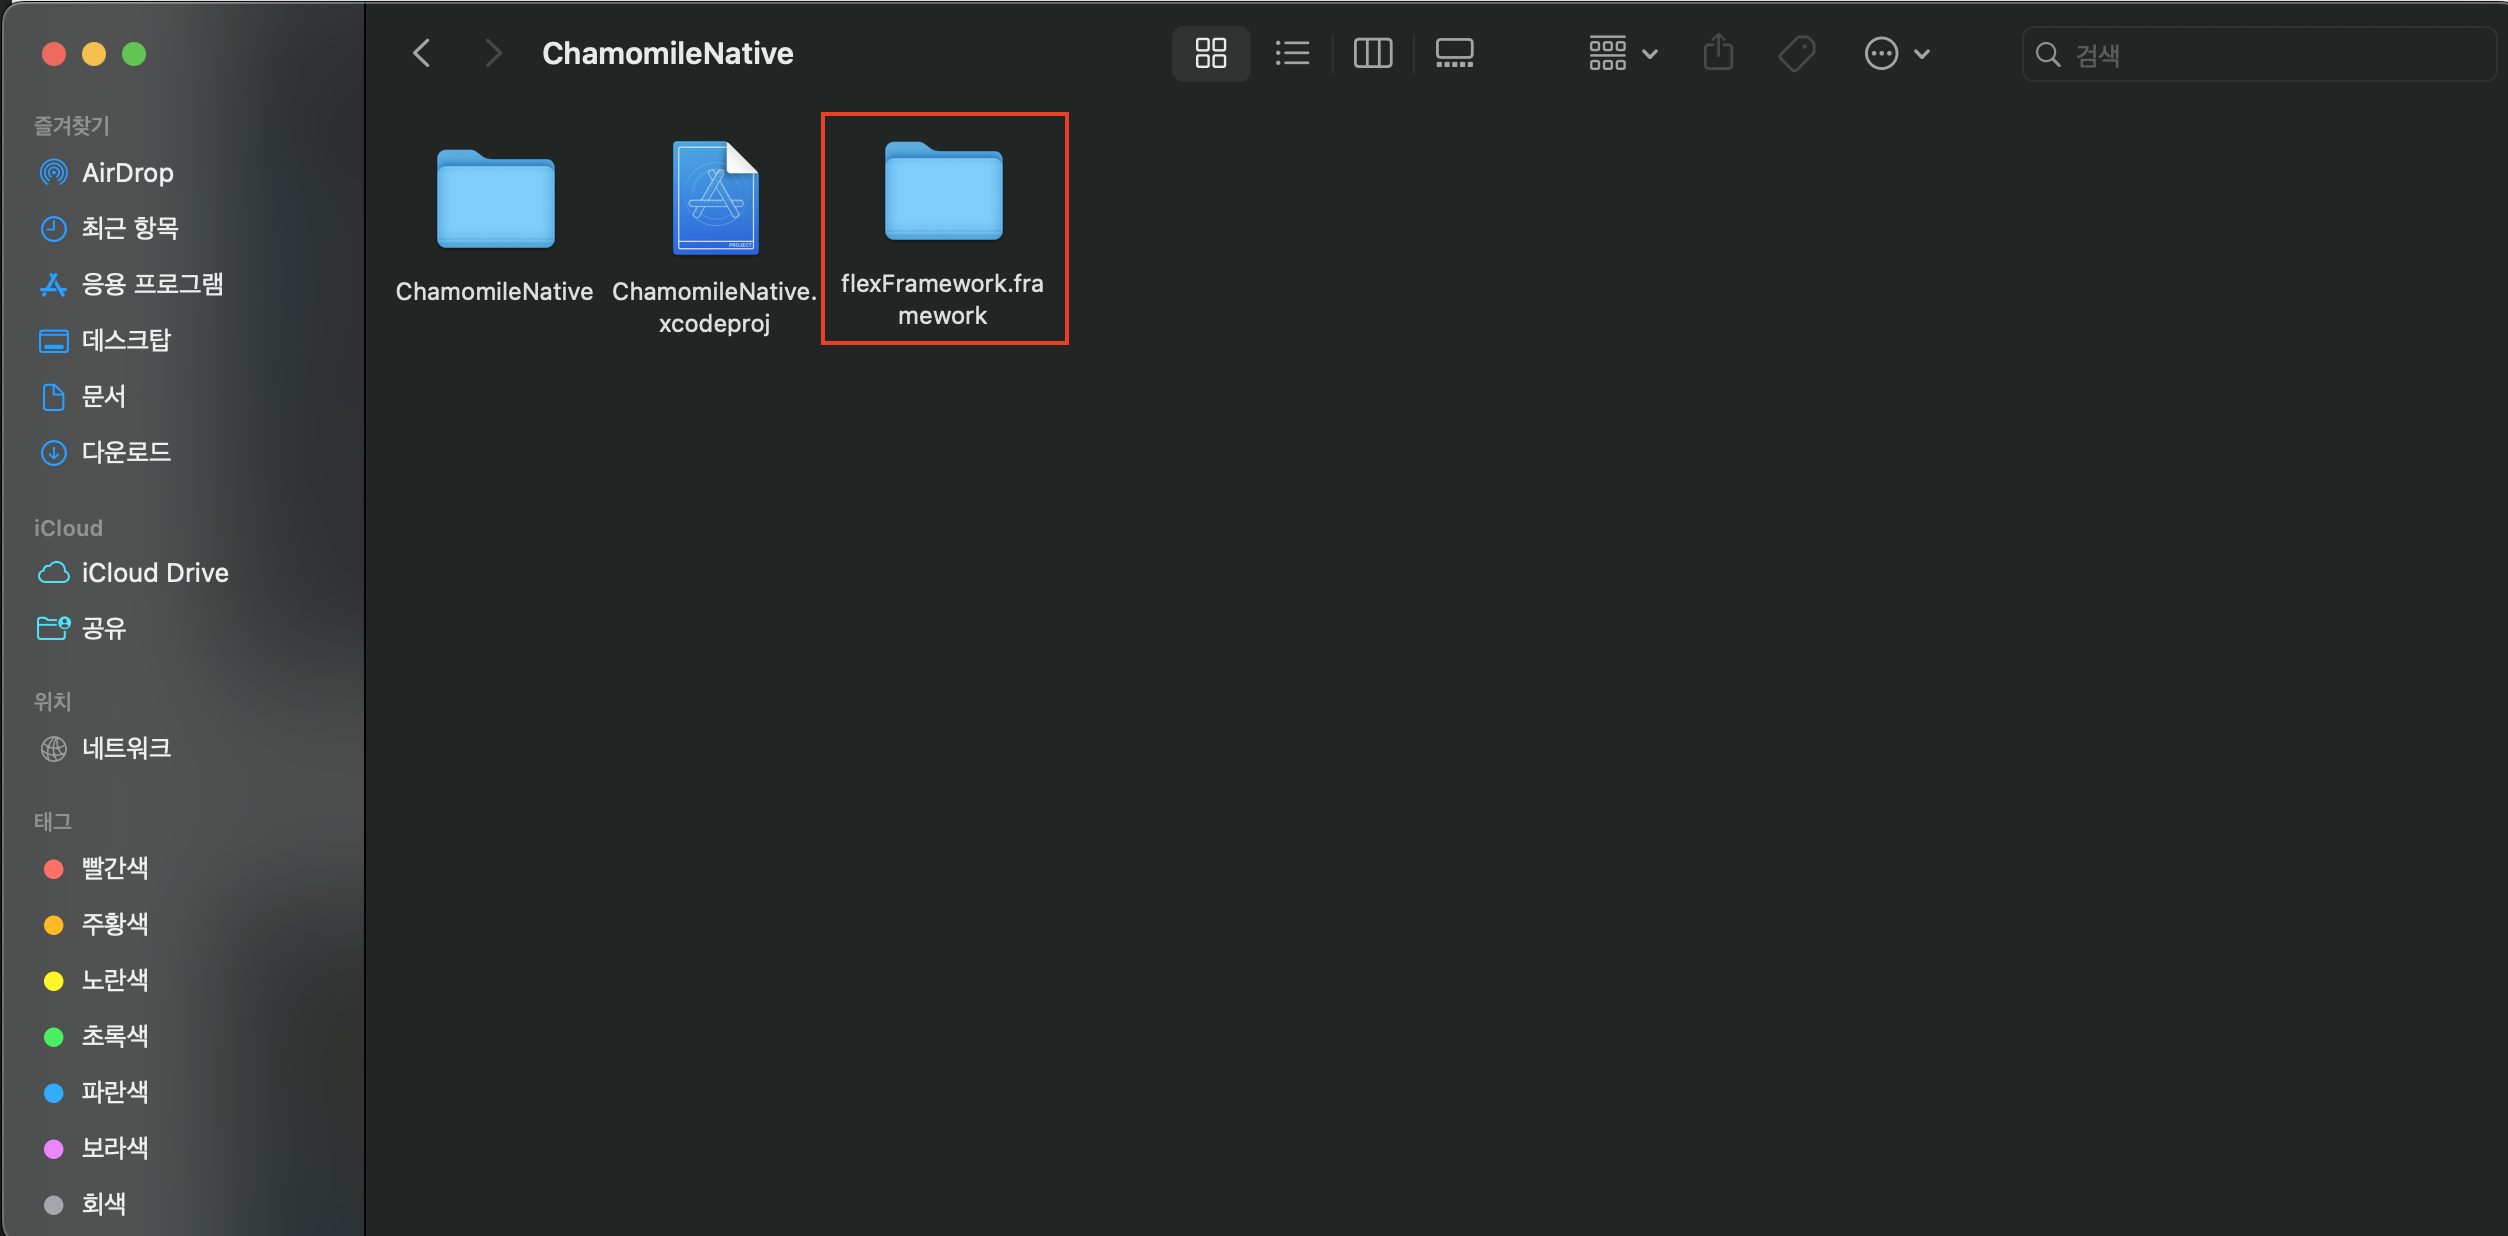
전달받은 framework 폴더를 복사해 새 프로젝트 원하는 경로에 붙여 넣는다.
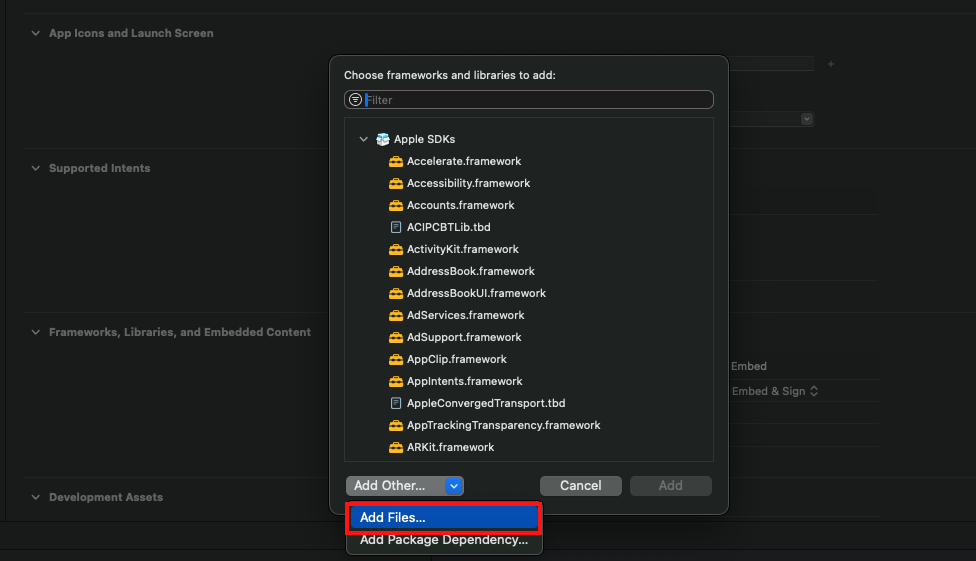
개발중인 프로젝트 내 frameworks, Libraries, and Embeded Content 부분 + 클릭하여 프레임워크 폴더를 추가한다.

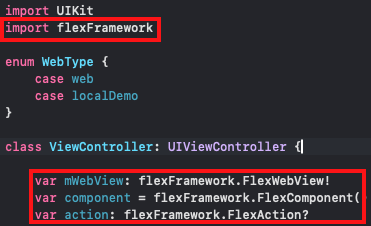
이제 Class에서 framework를 import 하여 커스텀 웹뷰를 사용할 수 있다.
네이티브 모듈 사용 방법
Xcode
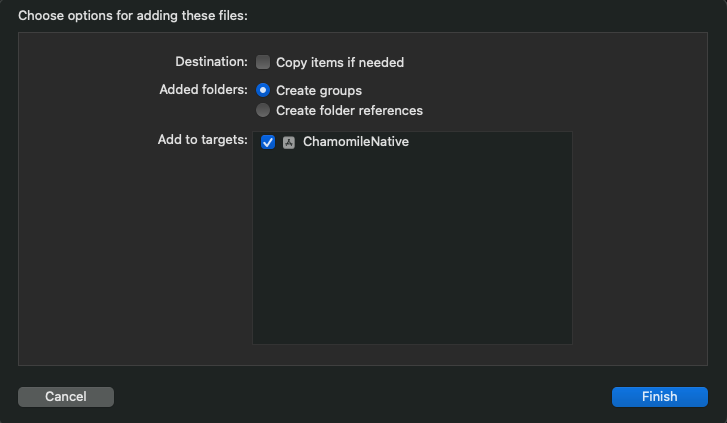
함께 제공된 demo폴더와 네이티브 기능이 담긴 flexLibs 폴더를 프로젝트 경로에 넣는다.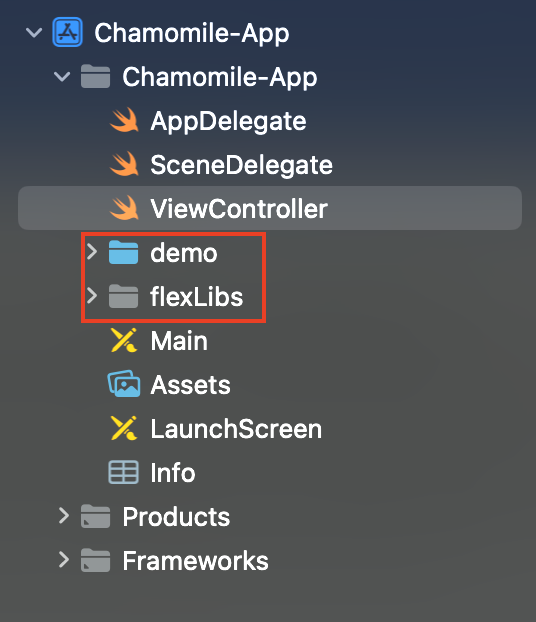
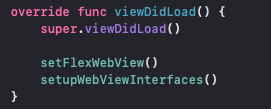
WebView 설정 코드
setBaseUrl
BaseUrl은 url제한을 하지 않고 인터페이스 가능 여부만 설정할 때 사용할 수 있는 기능
BaseUrl을 설정할 경우, 모든 사이트로의 접근을 허용하며 BaseUrl에 매치되는 URL에만 인터페이스 활용 가능
url 설정시 정규표현식 사용 가능
component.setBaseUrl(".*.myurl.com")
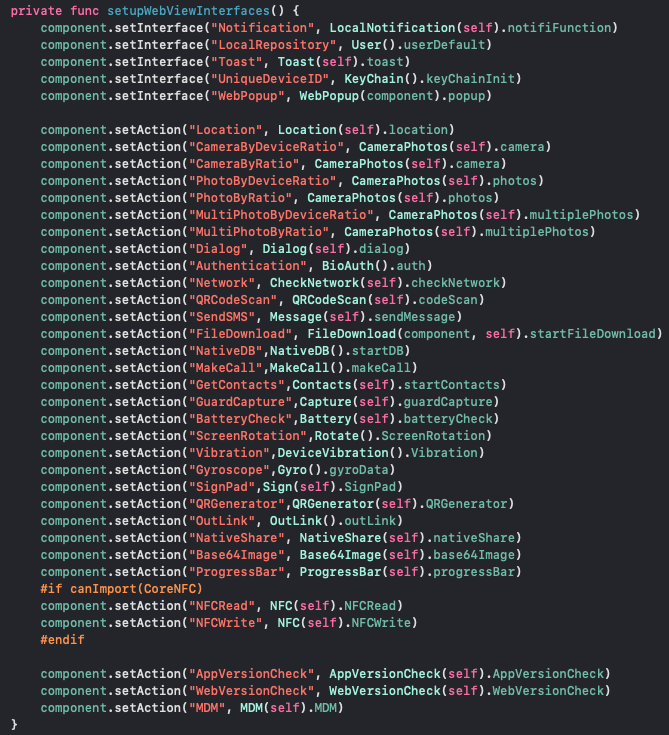
인터페이스 등록 미리 구현된 인터페이스 등록을 통해 웹에서 쉽게 네이티브 기능을 활용할 수 있다.
추가 환경 설정
프로젝트 경로에 커맨드 창을 열어 pod init 을 해준다.

생성된 Podfile 파일을 열어 4가지 라이브러리를 입력해준다.

커맨드 창으로 돌아가 pod install을 입력해준다.
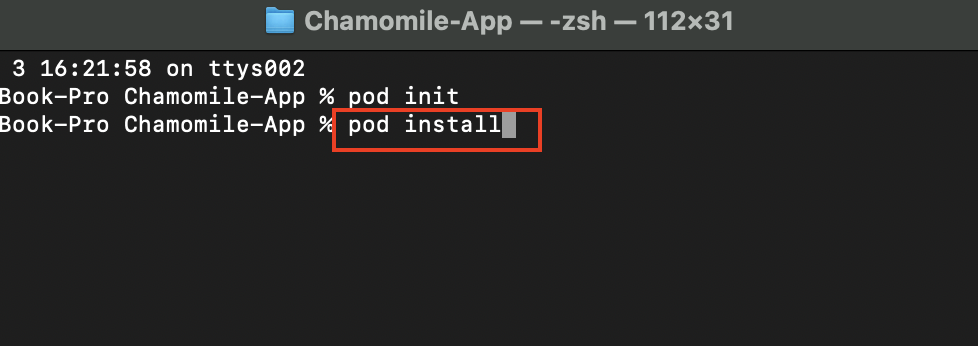

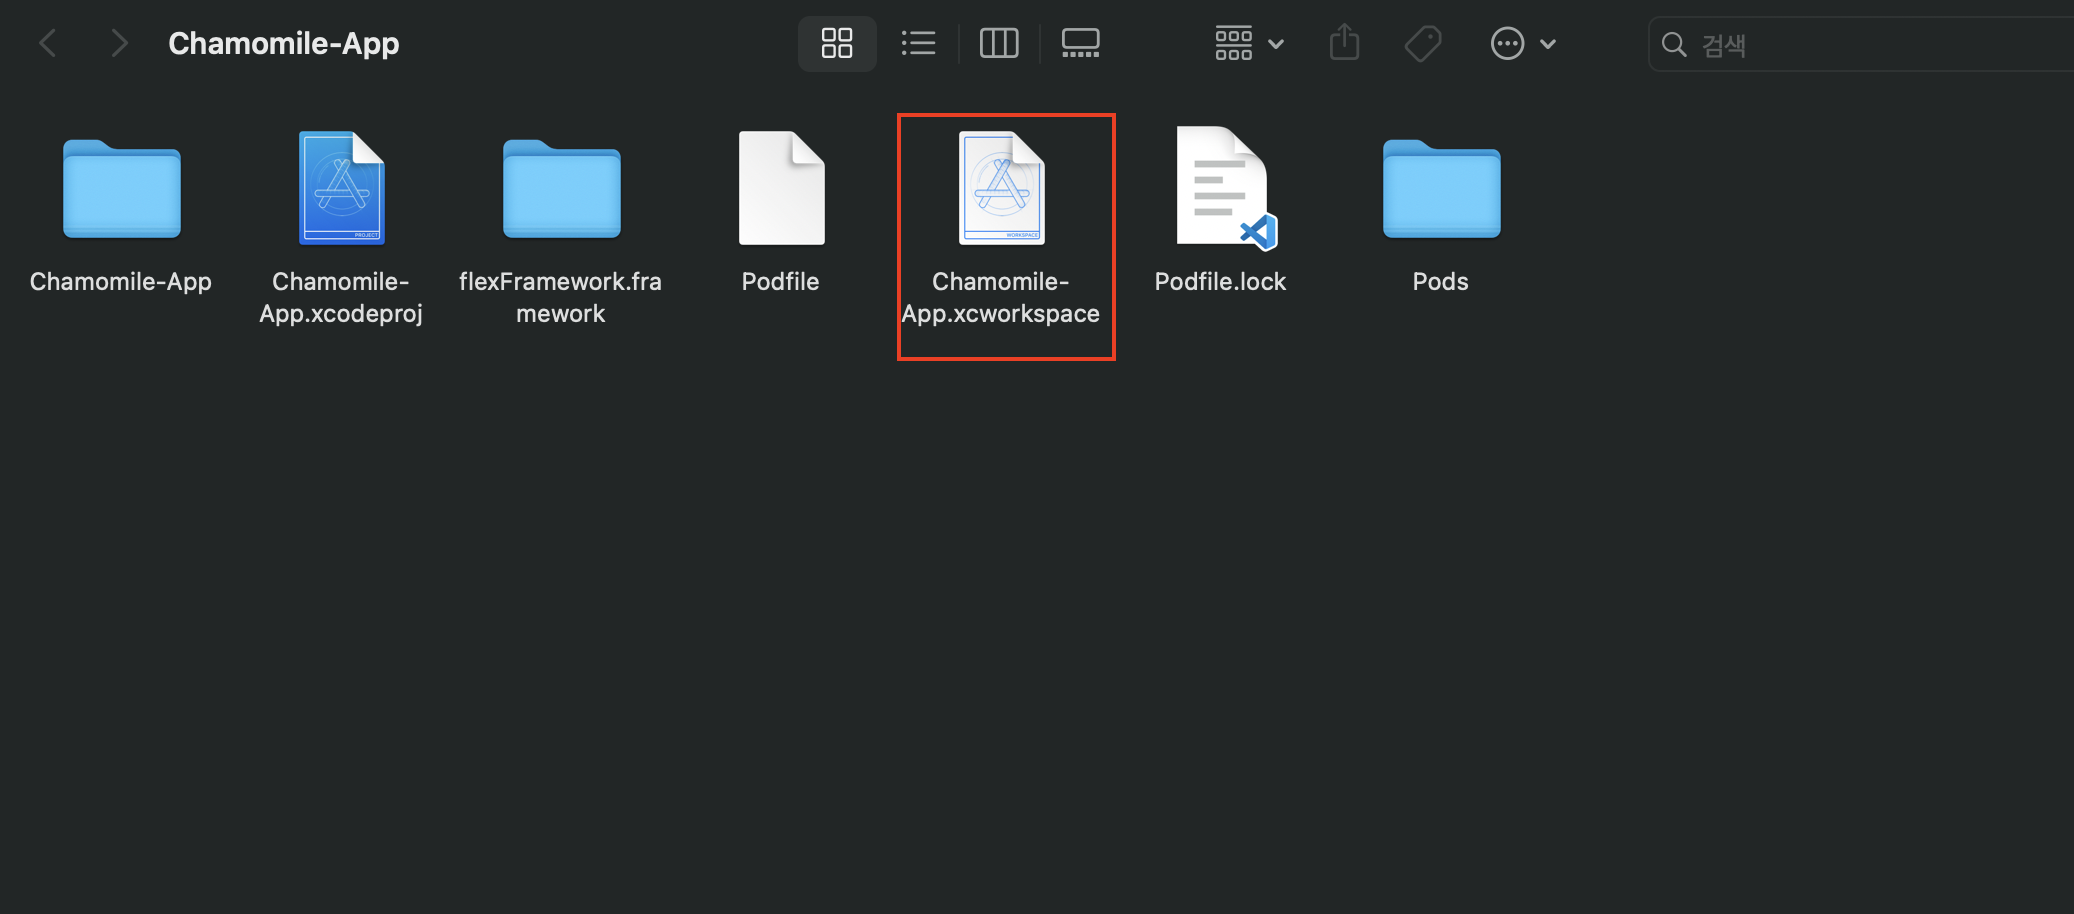
pod install이 완료되면 프로젝트 경로로 돌아가 흰색 프로젝트 파일로 프로젝트를 진행한다.
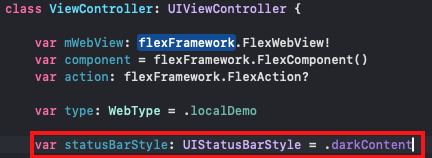
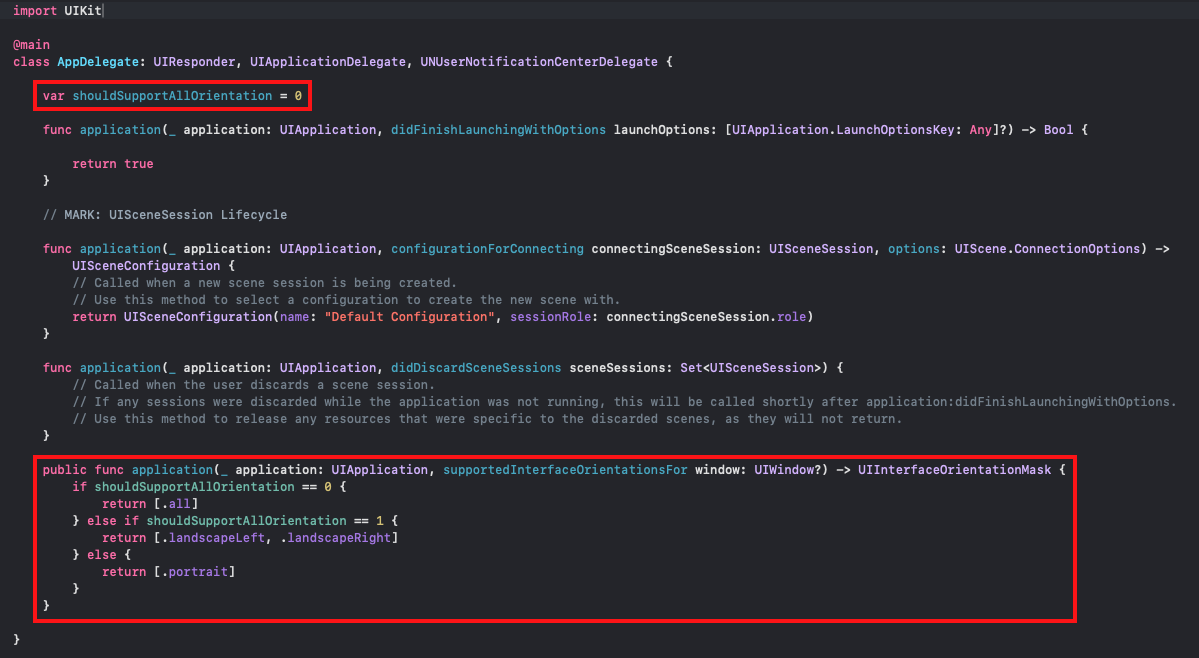
화면 회전(Rotate) 기능 사용을 위해 Rotate 관리 설정을 위해 ViewController와 AppDelegate에 함수를 추가해준다.
빌드 실패
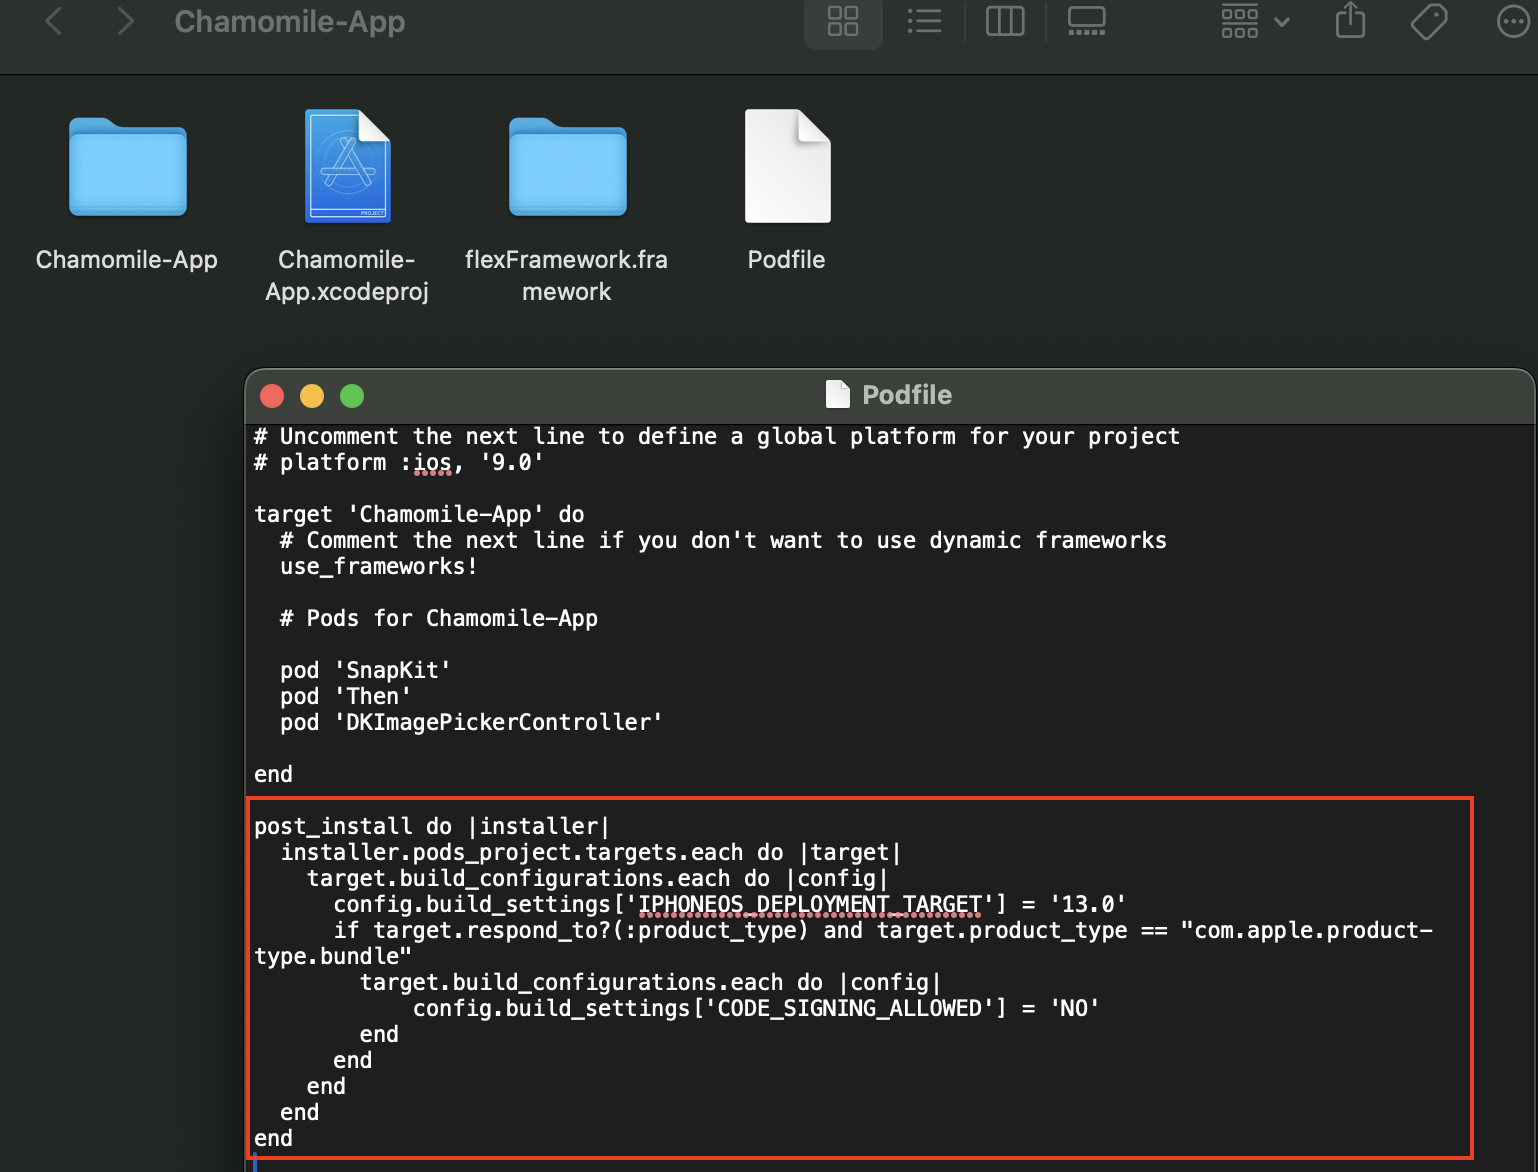
빌드시 하단 에러가 나면 아래 코드를 pod init 파일에 입력하고 다시 한번 pod install 해준다.
 post_install do |installer| installer.pods_project.targets.each do |target| target.build_configurations.each do |config| config.build_settings['IPHONEOS_DEPLOYMENT_TARGET'] = '13.0' if target.respond_to?(:product_type) and target.product_type == "com.apple.product-type.bundle" target.build_configurations.each do |config| config.build_settings['CODE_SIGNING_ALLOWED'] = 'NO' end end end end end
다음과 같은 에러가 난다면 Build Settings -> enable_user 검색 -> User Script Sandboxing 을 NO로 변경한다.


권한 설정
GPS
info.plist에 두가지 위치 권한 요청을 넣는다.
카메라 및 앨범
info.plist에 각각 카메라와 앨범에 대한 권한 요청을 넣는다.
생체인증
info.plist에 FaceID에 대한 권한 요청을 넣는다.
로컬 노티피케이션
AppDelegate에 알림 권한 코드를 넣어준다.
if #available(iOS 12.0, *) { UNUserNotificationCenter.current().requestAuthorization( options: [.alert, .sound, .badge, .providesAppNotificationSettings], completionHandler: { didAllow,Error in }) } else { UNUserNotificationCenter.current().requestAuthorization(options: [.alert, .sound, .badge], completionHandler: {didAllow,Error in print(didAllow) }) } UNUserNotificationCenter.current().delegate = self application.registerForRemoteNotifications()연락처
info.plist에 연락처에 대한 권한 요청을 넣는다.
NFC
info.plist에 NFC에 대한 권한 요청을 넣는다. (권한에 설명 추가 필수)

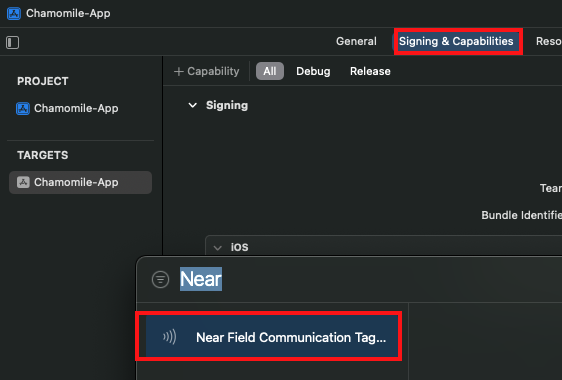
"Signing & Capabilities" 에 Capability를 눌러 Near Field Communication Tag Reading 을 추가한다.
네트워크 체크
네트워크 상태를 추가하기 위해서는 AppDelegate에 초기화 함수를 넣어주어야한다.
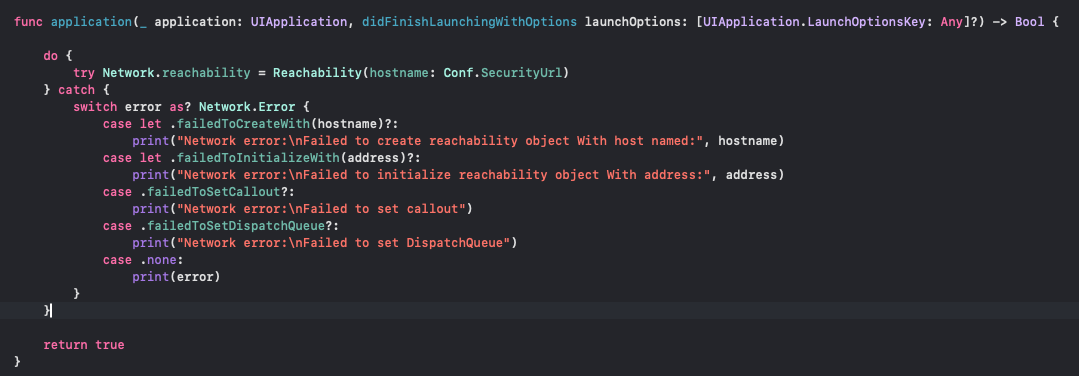
do { try Network.reachability = Reachability(hostname: Conf.SecurityUrl) } catch { switch error as? Network.Error { case let .failedToCreateWith(hostname)?: print("Network error:\nFailed to create reachability object With host named:", hostname) case let .failedToInitializeWith(address)?: print("Network error:\nFailed to initialize reachability object With address:", address) case .failedToSetCallout?: print("Network error:\nFailed to set callout") case .failedToSetDispatchQueue?: print("Network error:\nFailed to set DispatchQueue") case .none: print(error) } }